
I receive many questions on the making of
penny rugs and although I have stitched and
designed rugs for over 20 years.
I am not an expert, but I do know
There are no 'right' or 'wrong' ways to stitch a
penny rug.
This rug was stitched for an upcoming video on
'Questions and Answers'
on cutting, stitching, threads etc.
If you have questions please leave a comment
on my blog and I will
do my best to include your answer
in the video

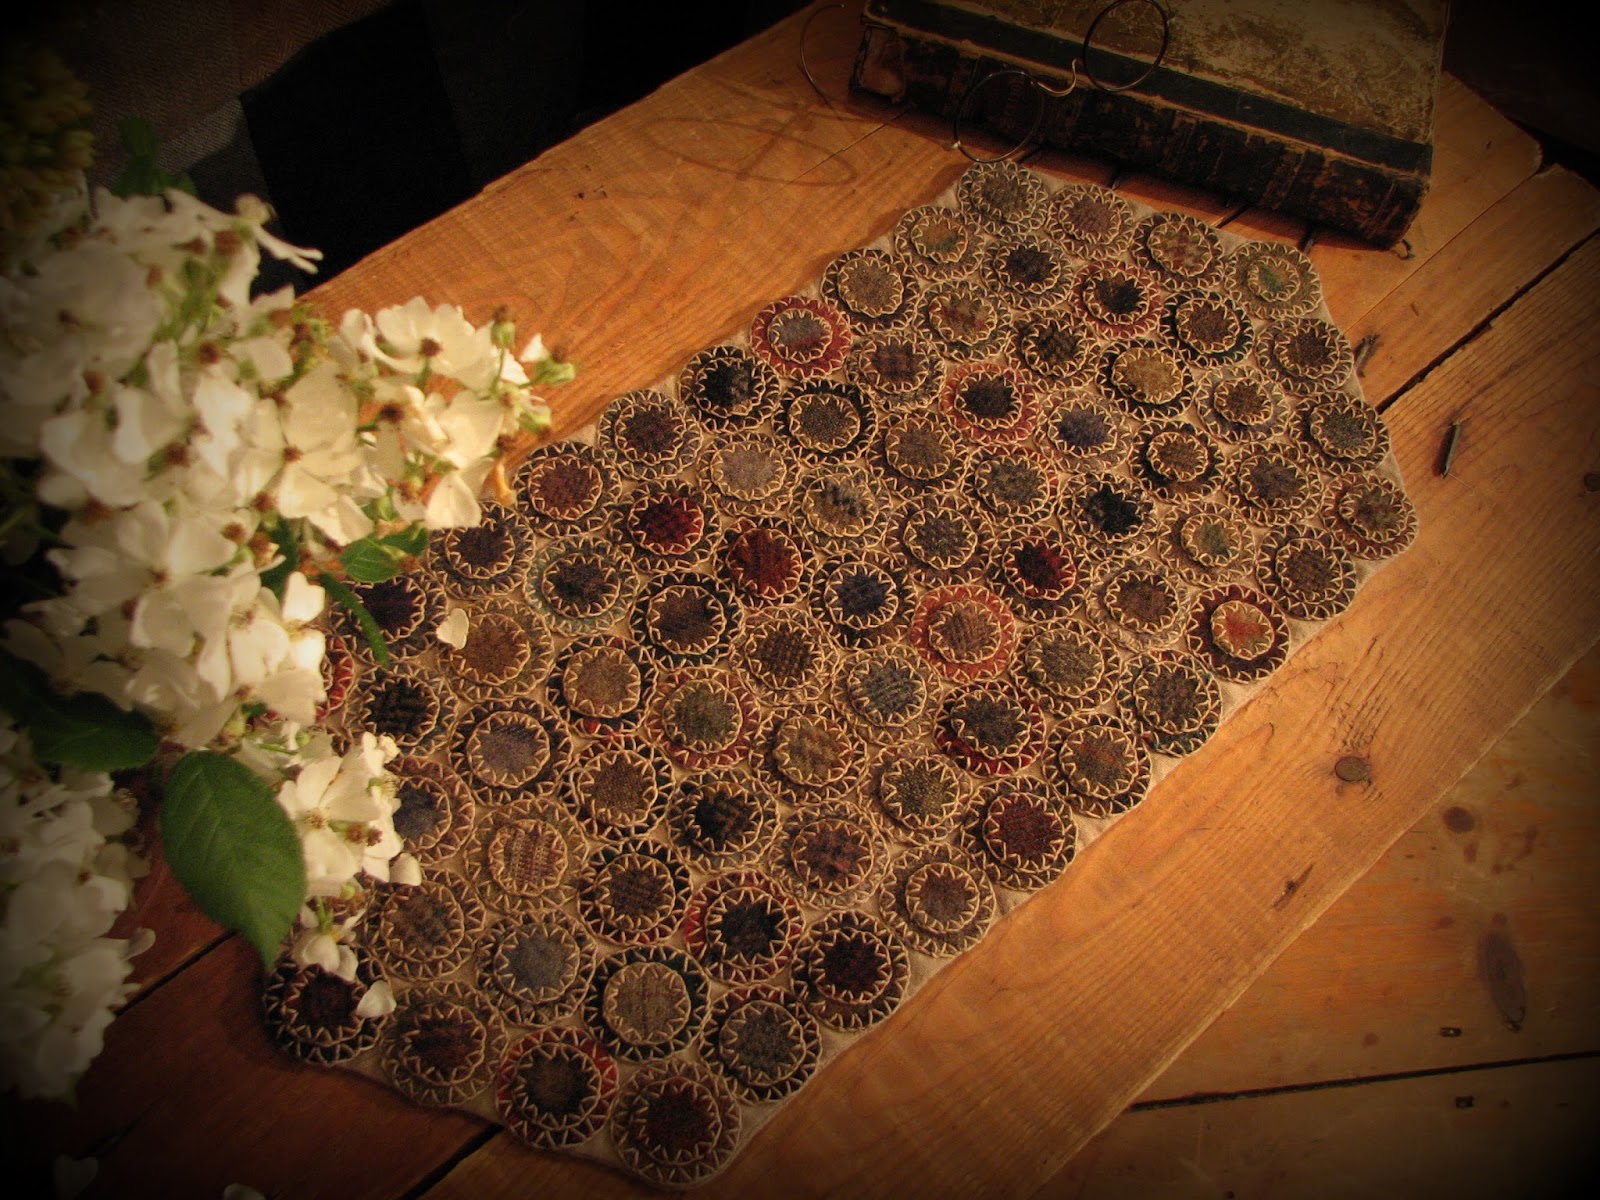
My original 'sample' rug above has
many 'flaws', it is much easier to show
'what not to do' and how to correct
the problem rather than to show a 'near'
perfect rug then explain how it will
look if you skip steps or
techniques.

It is a very simple rug to stitch.
The stitching and techniques are the same as
the videos showing the candle mat construction
just add a few more rows of pennies in the
center for the length of the rug and then
adding rows to size the rug.
To view my Youtube Videos

Threads are my age dyed string as
used in most of my kits.
The stitch is almost the same as the regular
blanket stitch with the exception of
inserting your needle on an angle to
make the 'v' shape instead of the
regular up and down of the blanket stitch.
There are many tutorials available
if you google
Closed Banket Stitch or
Closed Buttonhole Stitch.

What a difference the stitch makes to
the look of this rug!
It reminds me of lace.
It looks a bit 'elegant' although..

One doesn't really think of 'elegant'
when working with plaid woolens.
Yes, those pennies are all plaid woolens
from the leftover scraps of the
plaid bundles previously
offered for sale.

A regular blanket stitch would not give
this rug the same 'look'.
Solid colour pennies, even with the
closed blanket stitch,
would not give this rug the same 'look'.

To stitch this rug showing predominately
the plaid fabrics in the pennies,
use a thread and stitch that 'blends' or
softens the look of the fabrics and/or
colours in the rug.
A two strand DMC floss would
stitch a completely different style
rug using the exact same
pennies in this kit.
Different shades of floss.. again
another look, however, I would not
recommend different shades of thin
or heavier threads because there
comes a time in a rug design
when
'too much'
is
'too much'
Too much colour, texture etc.
Tone down fabrics and/ or colours by
making the thread and stitch the main
design focus of your rug.
Tone down the threads and stitching to
make the colours of the pennies the
main focus in the design.
Simple right?
It definitely IS fun
to experiment with threads
and stitches.

This very easy and simple kit
is now available in my
until the new
Applique Kits are ready.
Kits are complete with
pre cut plaid pennies
base and lining cottons and
a generous amount of my
age dyed string thread.
A large runner measuring
approximately
12 by 23 inches.
Just open your package
thread your needles and
enjoy the stitching!
Remember..
thread is anything that is
strong enough to stitch, be it
a frayed piece of fabric, yarn,
burlap, or a ball of common string.
Fabric for pennies is just that..
wool, cottons, synthetics.
The 'look' of the fabric makes
your design and not the
content label.
Most of all, have fun
think creatively.
Again, if you should have
any penny rug questions
please leave in the
comments
I'll do my best to help!
Happy Stitching!
cee
3 comments:
Cee, this piece is absolutely gorgeous!! thanks for sharing!!
Hi Cee, It is truly elegant in a primitive sort of way. I love it and thanks for sharing so much of your knowledge and information.
Peace and Blessings as always,
Barb
Cee, I love the effect of the stitching on this piece.
Thank You!
Post a Comment